Creating Your First BESTEdu Course
A course is defined as a collection of lessons, quizzes and questions in a particular curriculum arrangement. You create a course by grouping the related lessons, quizzes and question-banks. Use Learnpress to create the course, define the curriculum and other properties of the course.
To create a course in LearnPress, first login to the BESTedu site with your user credentials.
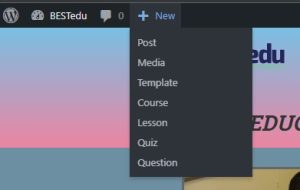
After login, as an instructor you have an additional black menu bar across the top of the page. This menu gives you access to a special BESTedu dashboard or more direct options to create New Course, New Lesson, etc.
From the BESTedu the Dashboard, click on the Course menu to get a listing of courses that you own.
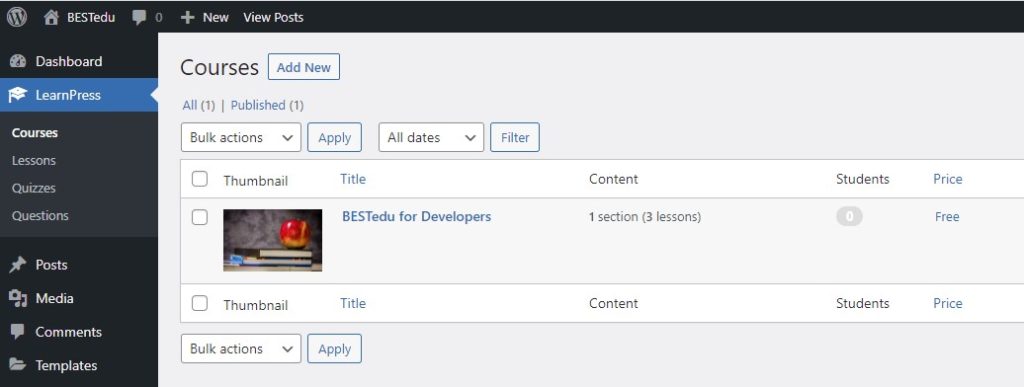
If you have never created a course before, this page will be blank. Just click the Add New button to start creating your new course.
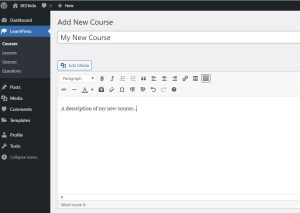
Title and Description
When adding a new course, you will be prompted to first give the course a title. Use a title that captures the overall learning objective of the collection of lessons you will be arranging for this course. Use the section that follows the title to provide a description of the course and its expected contents/outcomes. You did not need to provide an outline of the curriculum as this will be created automatically as you arrange your courses in the curriculum section. Feel free to add media, introduction video or such, to enhance the course overview.
Course Curriculum
The curriculum section is used to define the collection of lessons, quizzes and question banks that will make up the entire course. The curriculum is arranged in Sections. You must create at least one “Section” and title it however you would like. Simply type a section name in the field provided and press enter to create a new section.
![]()
The screen will expand and you may enter a more detailed description for the section if desired. You can subsequently create additional sections to help organize the course content.

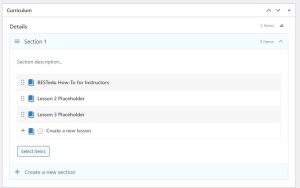
After creating the first section, you then enter (or select) the lessons that will make up the course. If there are no existing lessons, you can simply enter the names for the lessons, thereby creating your course outline “on the fly” and come back and create/edit these lessons later.
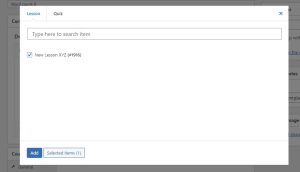
If you have already created lessons to be included in the course curriculum, Click on the “Select items” button. A pop-up menu will appear listing lessons and quizzes that you’ve created that are not yet assigned to a course. Simply select the lesson that you want to add to this course and click Add.
If you have no previously created lessons, you can select Edit next to the lesson in the curriculum list to begin editing that lesson. It will open in a new window. Just be sure to save this Course page before moving to editing a lesson.
After you have added all lessons/quizzes desired (whether existing or not), you can rearrange the items using the 6 dots to the right of the element, click and drag to move the item to a create a different order. If you wish to directly enter the name for a quiz (i.e., the quiz does not yet exist), click on the clock icon next to the item. The “book” icon represents a lesson, the “clock” icon represents a quiz.
Your curriculum is now set. You can then move on to the course general settings.
Course Settings
In the course settings panel, select an expected duration for the course; how much time do you expect will be required to complete the entire course? We will not “block” any content at this time so keep the next two checkboxes “un-checked”. Choose a difficulty level or leave as “All levels”. You may enter some number for Fake Students Enrolled to entice users on how popular this course it. Use the default settings for all other tabs and settings options.

Save and Publish
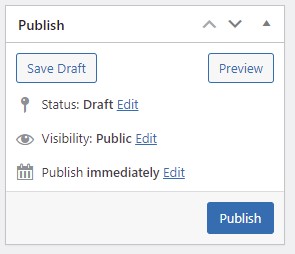
When you are complete, simply save the Course as Draft or PUBLISH when ready using the panel in the upper right of the page. No worries, the system is setup for Editors to review the submitted content before final publishing to the site. Clicking PUBLISH here is fine and you can easily change the status later on subsequent Editing of the course.
Leave A Reply
You must be logged in to post a comment.
1 Comment
I really undersood what to do after taking this lesson.